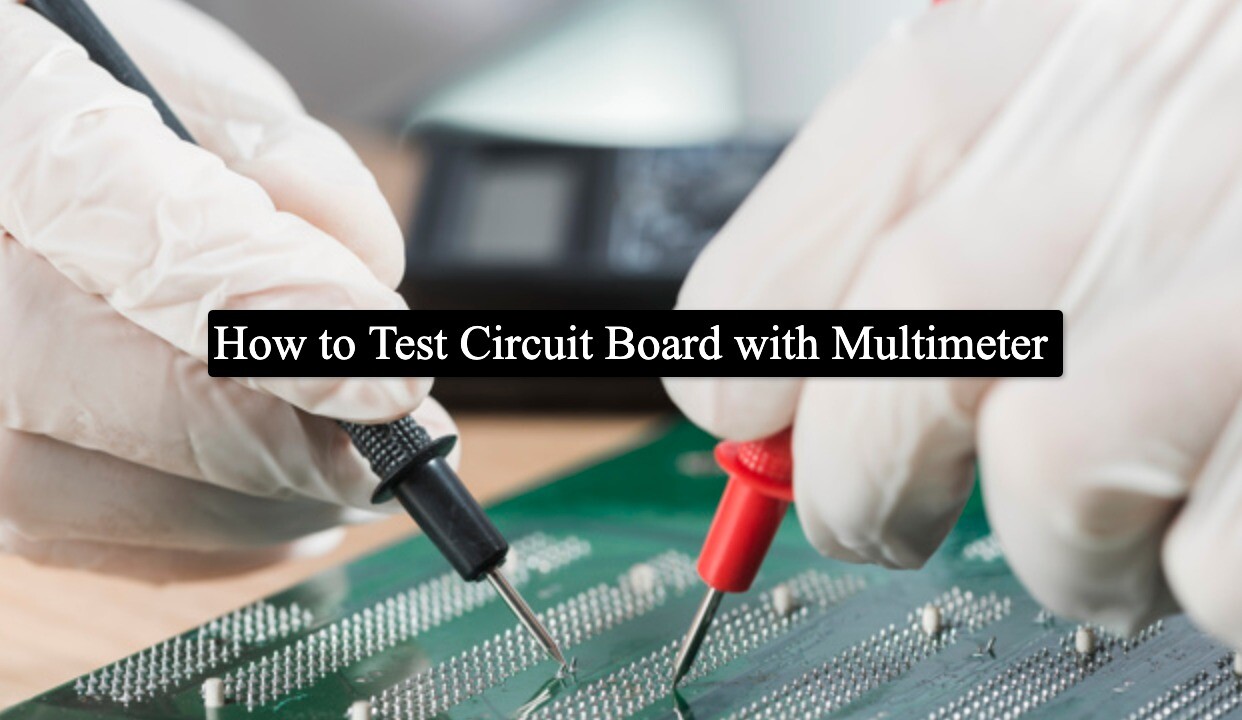
How to Test Circuit Board with Multimeter
Multimeter and circuit boards are two things that go hand in hand. While the former is used for troubleshooting, circuit boards, on the other hand, are used in varied electrical equipment. One of the main reasons why Multimeter are widely used today is because they can find faults within a piece of electrical equipment very easily.
[wpi_designer_button twin_id=2164]
Multimeter today come in two variants, i.e., one is analog and the other digital. However, when it comes to test a circuit board with a multimeter, there are many discrepancies. Not many people know this, but before using a multimeter for finding faults in a circuit, it is necessary to have a little knowledge about electrical types of equipment.
Only then you can track down the faults and adopt a logical approach for doing so. But the main question that arises is how to test a circuit board using a multimeter. Today the advent of science and technology has introduced many types of equipment, which gradually lessens our work.
Even if you don’t know the basics of an electrical circuit board and multimeter, you can easily learn the same using this blog. Below we have outlined the different steps that can be used to test a circuit board with the help of a multimeter.
Guide To Test A Circuit Board Using Multimeter:
Step-1: Plugging:
This is the first and basic step in circuit board testing. For this step to work out, you first need to observe the polarity and then probe in the multimeter. Every multimeter device comes with two types of probes, namely red and black. While the red one is the positive probe, the black one is the jack at the end of the probe wire.
Step-2: Testing:
Here comes the critical step wherein you need to select the multimeter function first to check a circuit board. Multimeters are modeled in such a way that they can measure both voltage and resistance. In case you have to test the power or voltage, turn the function knob or select the AC or DC voltage. The circuit board and the overall voltage will then be displayed on the device.
Step-3: Checking:
We all know that circuit boards are made up of many components in general and are placed inside an electrical device. Thus, to know if all parts are working in sync with each other, you first need to unplug the device and the housing. Then switch it on and make sure that you do not touch any of the wirings.
Read more:- In-Circuit Testing
Step-4: Measure Voltage and Resistance:
The next thing to do using a multimeter is to check for voltage and resistance. For this step to work out smoothly, you need to do a basic test first. To test circuit board properly, touch the multimeter probes to the test points present on the board.
Make sure while playing out this step you have your hands on the plastic portion of the probes. You can then go on to check either the voltage or resistance. When measuring the resistors’ resistance, connect one probe to the end of each resistor.
Step-5: Check The Final Result
We all know that multimeters are used for checking the working functionality of the circuit board. Thus, to check and see if all the components are working properly repeats the step 1 to 4 for every component present on the board.
In this way, you can single out all the faulty components on the board. Always remember that you have to proceed systematically for all things to work out. From the first instance, when the incorrect voltage is found to check the preceding component’s output pins, every step has to be followed very keenly.
Troubleshooting a PCB is very important nowadays. It is because, with the rising demand for electrical appliances, the supply for circuit boards has also increased. Thus, a minor distraction in the board can make it non-functional or damage the components. This can be easily traced with the help of a multimeter.
As the device is blessed with two probes, it makes the overall process to troubleshoot a circuit board very easy.
Conclusion:
The testing of a circuit board is primarily significant for electrical devices. It is because, with the help of a multimeter, comprehensive testing can be done without any damage. Moreover, all the components such as resistors, capacitors, and transistors can be checked without removing them physically from the board.
The introduction of millimeters has simplified this process for the technicians. Thus, for all those aiming for an elaborate solution while testing the PCB’s the above steps will help you in every way. Check out all the points listed above and make the overall testing of the printed circuit board easy.
[wpi_designer_button twin_id=2164]

